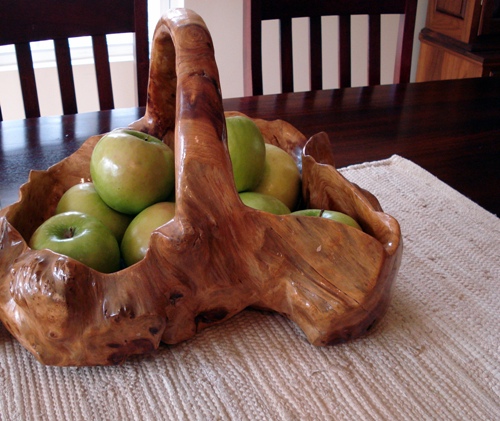
On our dining room table, there’s a beautiful wooden basket, a wedding gift from my sweet sister-in-law Heather. But I never put anything in it. Why? Don’t ask me!
Even though, I guess, I AM the one to blame. Anyway, a few months ago, I had an idea. Why not fill it with green apples? And
then, before the apples rot, which I have been known to let them do,
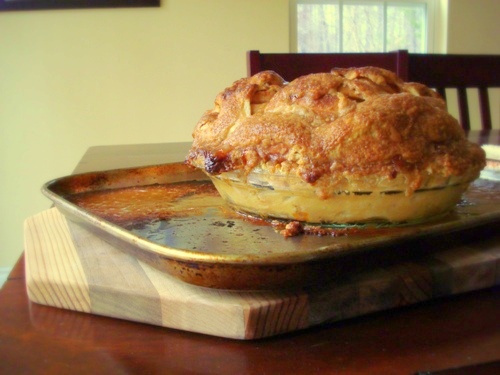
make an apple pie?
Let me tell you, this was as good an idea as ever I’ve had! And
here, my dear readers, is how I make
my apple pie.
I’m not about to say that there is one best way to make something as American as apple pie. What I AM about to say is that THIS particular way is downright DAH-licious. This recipe is not completely original – I’ve modified it from
this recipe and I use a pie crust recipe adapted from my friend’s.
But all in all, this is apple pie, my way.
And it kicks butt.
Let’s start with the crust, and if you don’t mind, I’m going to use my brand new food processor. Thanks.
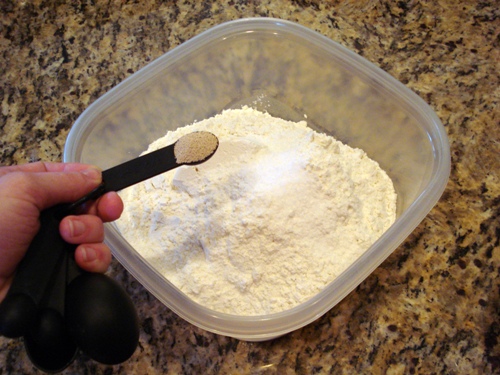
Pulse together
2 1/2 cups flour with
1 teaspoon salt and
1 tablespoon sugar.

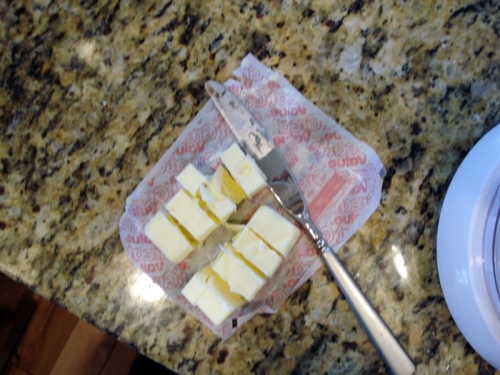
Grab
one stick of butter and cut it into cubes. Throw it into the food processor, and
process the heck out of it.
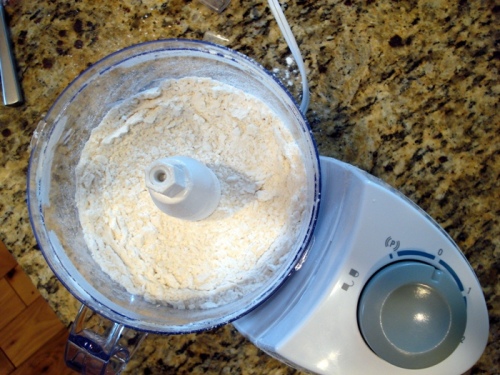
I know that you’ve heard that pie crusts need large chunks of butter to make it flaky, and we’ll get to that. Here, we’re working half the butter into the flour so that the crust is not only flaky,
but tender, too.
Meanwhile, get some ice water ready. You’ll need a
half cup of ice-cold water. Grab the
second stick of butter and cut it into cubes, too.

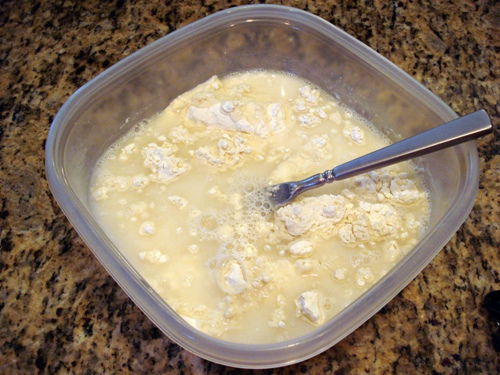
Place it in the food processor, then put the lid on. In short pulses, you’ll not only be cutting the butter roughly into the flour, but you’ll also be mixing in half a cup of ice-cold water. It takes two hands to drizzle the ice water into the food processor while you’re pulsing all of it together, so excuse the lack of photo here.

The crust will still look crumbly when you’re done. The way to tell whether there’s enough water is to reach in, grab a handful, and squeeze. If it breaks apart, it’s too dry. If it sticks together, you’re alllll good.
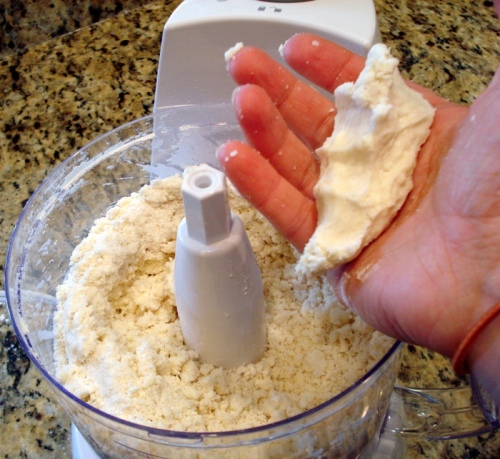
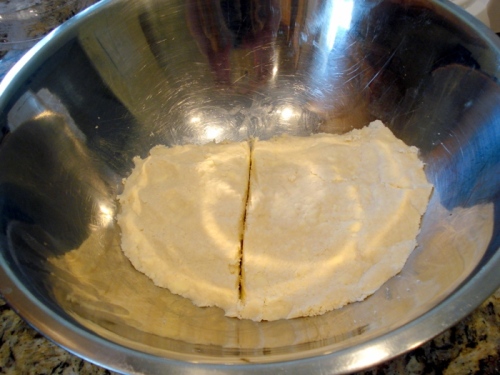
Here, I poured it into a big bowl, which helps me keep it tidy. You’ll need to gather it into two piles, one bigger (for the bottom crust) and one smaller (for the top crust).

Wrap it in plastic wrap. Stick it in the fridge. Leave it there for at least an hour.

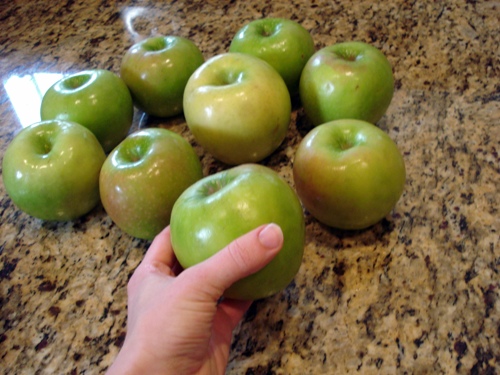
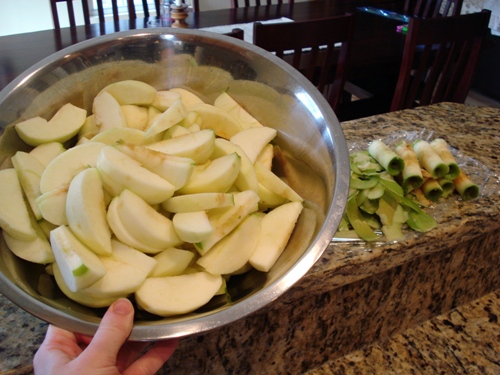
Now, it’s apple time! Get
eight large Granny Smith apples. Here, I have nine, and it turned out to be one apple too many. You’ll see why.
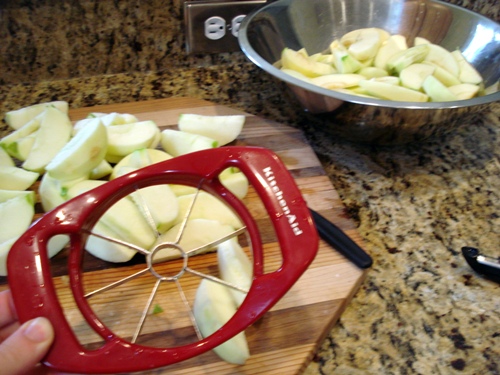
Wash, peel, and slice. For this, I use an apple corer/slicer, and then I slice each piece in half. Perfect width.
After you’ve sliced your apples, it’s time to make the decadent, delicious, downright dazzling sugar syrup. This syrup is the key to this apple pie. It takes this dessert from same ol’ simple to SNAZZY and SUPER. Watch and see.
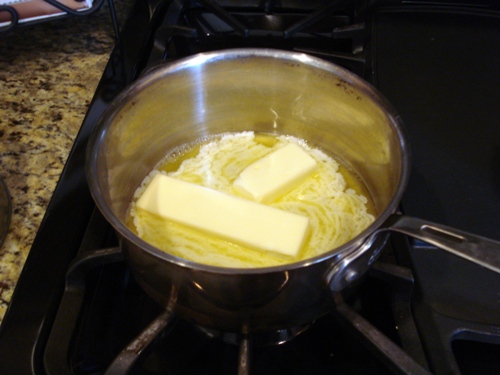
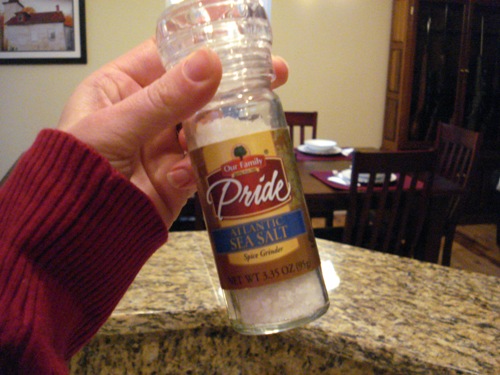
In a saucepan, over medium heat, melt
one and a half sticks of salted butter. You need that salt, baby!
Meanwhile, in a separate bowl, combine
3/4 cup EACH white and brown sugar,
1 teaspoon cinnamon, and
1/2 teaspoon nutmeg. Actually, you don’t have to combine it that well. Free and easy is the way to go.

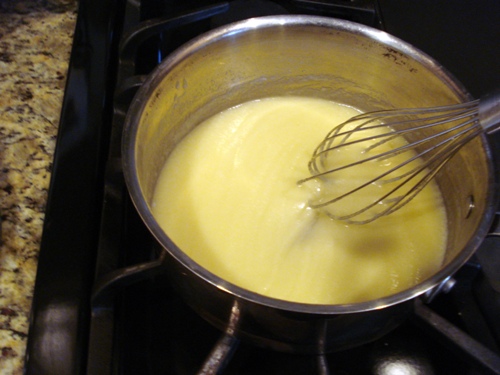
Back to the melted butter. Stir in
4 1/2 tablespoons of all purpose flour,
which I have conveniently forgotten to photograph. Whisk it in well – no lumps allowed!

Get
6 tablespoons of water ready. Have your whisk close at hand, because when you dump in the water, it’s GOING TO GET ALL CRAZY UP IN HERE!
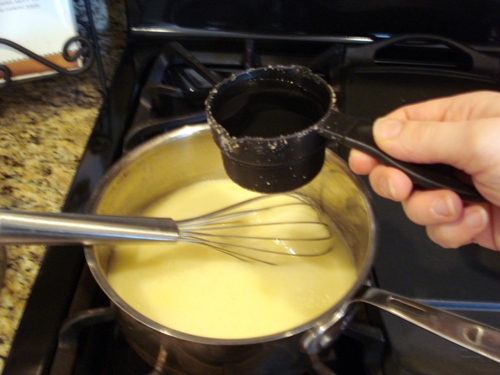
Once you pour it in, whisk fiercely! It will thicken tremendously. Stir until it's lump-free!
Edited to add this NOTE: One day, after I posted this blog, I was making this pie again. I made the sauce and it did NOT WORK! Every time I stirred in the water, the sauce just turned lumpy and rude. I tried it again, and AGAIN, it did not work! Imagine my frustration! SO, on the third try, I added the SUGAR mixture first, blended it well with the butter and flour, then made sure the water was STEAMING HOT before pouring it in. It worked! So, in summation, you can add the sugar mixture BEFORE the steaming hot water, and it will turn out just the same.
My mother says to always add a WARM liquid to a roux (butter/flour paste) - i.e., no cold milk into a hot roux, no cold water into a hot roux, etc. 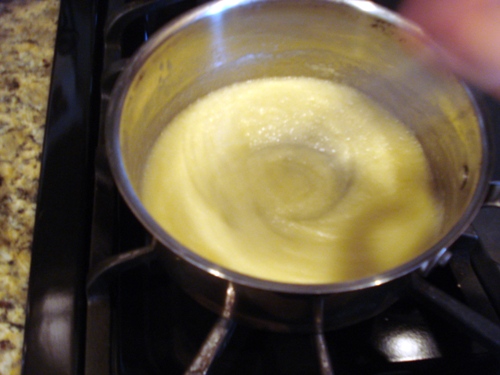
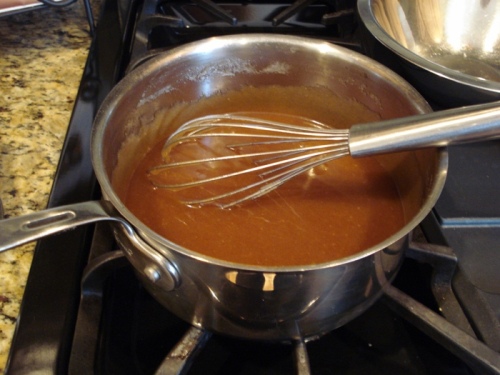
Now, add the sugar mixture. Whisk well until it’s fully combined.
Bring to a boil, then reduce to low heat.
Add 1 1/2 teaspoon vanilla. You can now leave it on LOW while we prepare the crust.
Rolling out the crust is easy with this technique. Throw a little bit of flour into a Ziploc bag and begin rolling the dough out inside the bag.
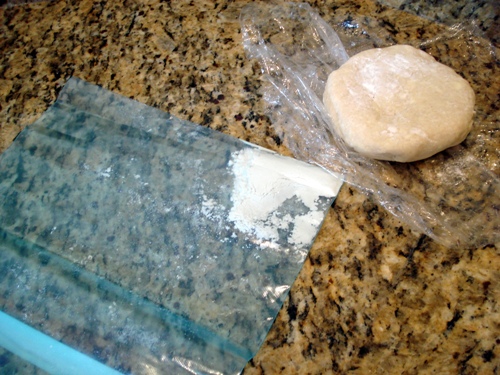
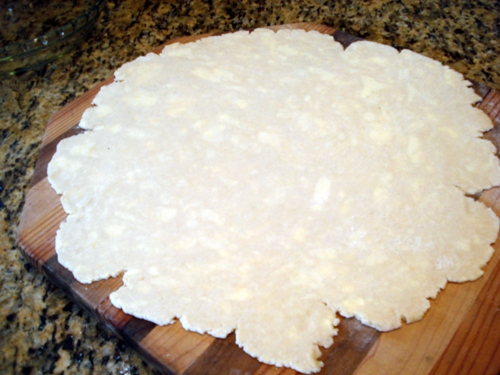
Once it’s fairly flat and manageable, take it out of the bag and finish rolling it out on the cutting board. For some reason, it’s much easier this way.

Um, this isn't perfect. My pie crusts are never, ever perfect. But I've reached a point in my life where I have peace with this. Life's not perfect. But it sure tastes great. Just like this crust.
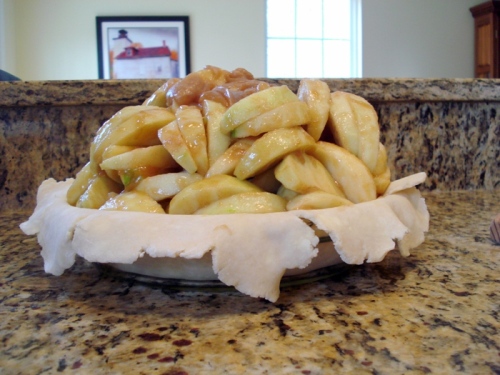
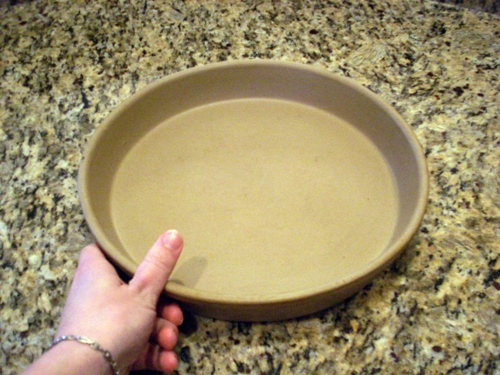
Arrange the bottom crust in your pie pan – my favorite dish for this is a Pyrex pan – and start worrying about how the heck you’re going to fit those apples in.

Remember those apples? Time to give them some attention. So take that warm, horrendously wonderful syrup off the heat and pour about
three-quarters of it over the apples. Oh baby. Anyway, mix together. And put the rest of the sauce back over low heat.

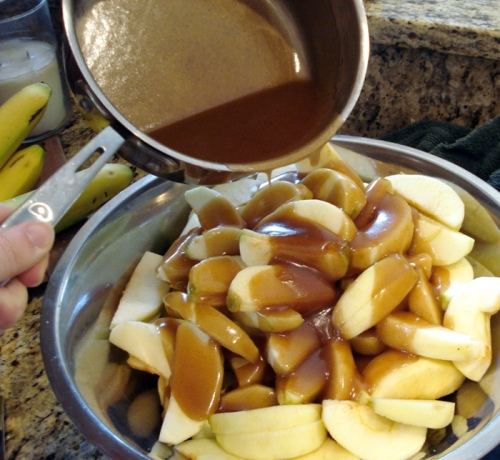
See why nine apples were one too many? Usually, eight is perfect, but remember too, apples shrink in the oven.
 This pie was still awesome.
 The only problem was, um, fitting all the apples into the crust.
Don’t worry. It was my problem, not yours. And despite a few sticky fingers, I managed it.
(And don’t forget to scrape the last bit of syrup out of that bowl for the apples. I assure you, you will be sorry if you don’t.)
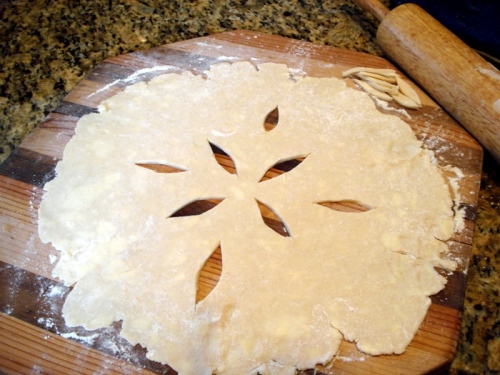
Time for the top crust.

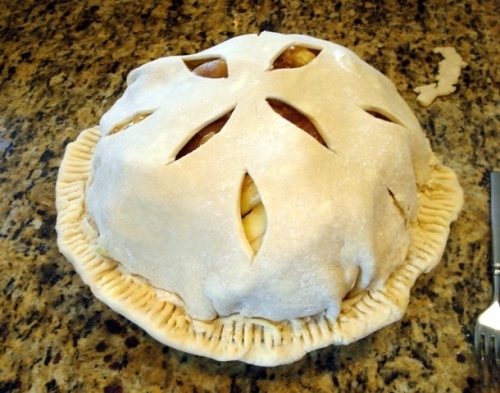
Once it's rolled out, take the time to cut some slits, if you so prefer.
At this point, also PREHEAT the oven to 425 degrees F.
Carefully drape the crust to avoid an avalanche of apples.

Where you can, fold the bottom crust over the top crust's edge. Cut off any extra and seal it with a fork.
Feel free to do something prettier. If you want to. (
COUGHoverachiever!COUGH.)
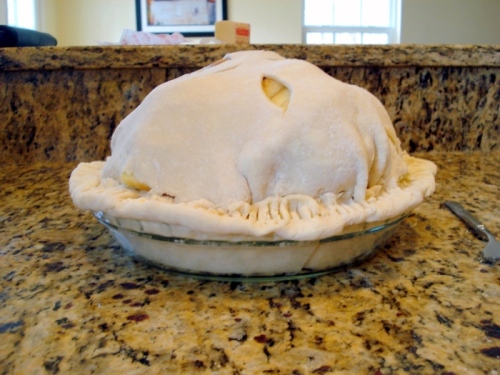
Yes, this looks ridiculous. RIDICULOUSLY GOOD!
Now, pay attention! DO NOT MISS THIS STEP! This step is what makes this pie KICK BUTT!
Take the rest of the syrup and carefully spread it over the top crust using a pastry brush to help.

See the photo below? IT'S NOT FINISHED. You HAVE to get the edge of the crust, too.
(I realize I keep yelling at you. But don't take it personally, please. It's just that this step - and this pie, for that matter - is incredibly important. Earth-shatteringly so.)

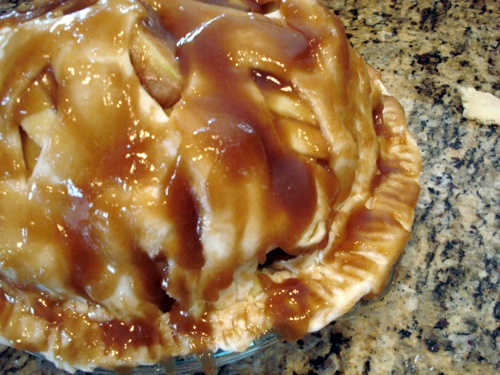
Be sure to cover every square quarter-inch of the top crust with this syrup.
Now PUT THE PIE ON A COOKIE SHEET! Do not, and I REPEAT, DO NOT attempt to bake this ooey-gooey pie without some sort of oven protection!
Bake at 425 degrees F for 20 minutes. Then lower the oven to 350 degrees F and continue to bake for 45-55 minutes. If the edge gets too brown, cover it with foil.
When the timer is close to completion, test the doneness of the apples by sticking a sharp knife into one of the slits and spearing a few pieces of apple. If it feels too crunchy, keep the pie in there a little longer. You want FIRM, but NOT crunchy.
It's done! Done, done, done!See why it was so important to use a cookie sheet? What a mess! Also, had I not used so many apples, the crust would have stayed in place a little more. It sort of slid down, but it was still alllll good.
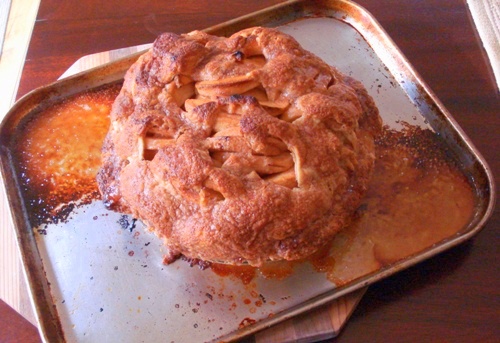
The syrup on the crust works miracles in the heat of the oven. It makes the crust taste like a cinnamon butter cookie, which, as you can imagine, tastes pretty darn good with an apple filling.
If you are physically able, let the pie rest for at least an hour for the filling to stabilize. If you don't want to do that, fine by me!
I certainly didn't.
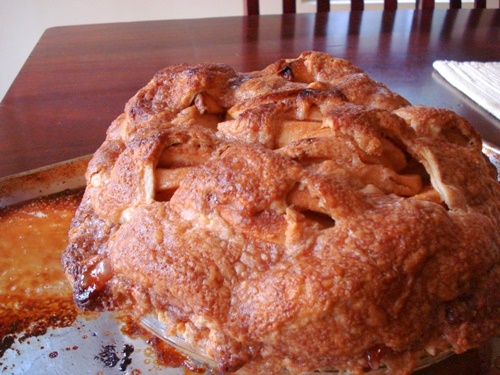
Anyway, there's not much more to say. This is apple pie, the Wonder Wife way, and I double dog dare you to try it. Go forth, and conquer!
Alexis’s All-Butter Pie CrustIngredients:
- 2 1/2 cups flour
- 1 tsp salt
- 1 tblp sugar
- 2 sticks butter
- 1/2 cup ice water
Directions:
1. Mix together flour, salt, and sugar.
2. Work
half the butter completely into the flour mixture.
3. Cut the remaining butter into the dough to form larger, pea-size pieces.
4. Add water, then knead dough. (Don't put the ice into the flour, though! It's just there to chill the water!)
5. Wrap into a top- and bottom-crust bunch, cover with plastic wrap, and refrigerate for at least an hour. The crust can be frozen at this point, if desired.
6. Roll each chunk of dough into a circle to form the pie crust.
Apple Pie
Ingredients:
- 8 large Granny Smith apples
- 3/4 cup salted butter
- 4 1/2 tablespoons all-purpose flour
- 6 tablespoons water
- 3/4 cup white sugar
- 3/4 cup packed brown sugar
- 1 teaspoon cinnamon
- 1/2 teaspoon nutmeg
- 1 1/2 teaspoons vanilla
Directions:
1. Preheat oven to 425 degrees F (220 degrees C).
2. Melt the butter in a saucepan.
3. Stir in flour to form a paste.
4. Add the white sugar, brown sugar, cinnamon, and nutmeg to the paste and WHISK WELL.
5. Add water (microwave to STEAMING HOT, if you want to be safe), stir until lump-free, and bring to a boil.
6. Reduce temperature and let simmer. Add vanilla.
7. Mix about 3/4 of the syrup mixture with the sliced apples.
8. Place the bottom crust in your pan. Fill with apples.
9. Cover with the top crust and brush the remaining syrup over the top of the pie.
10. Bake 20 minutes in the preheated oven. Reduce the temperature to 350 degrees F (175 degrees C). Continue baking for 45 to 55 minutes, until apples give fairly easily to a sharp knife.
11. Let rest for at least an hour. Enjoy!


