

It’s 9:30 on a Saturday morning and Brian has been working in the yard since 7:00 AM. After sleeping in, having a leisurely cup of coffee, and getting myself somewhat dressed, I’ve realized that my hard-working husband might just want something to eat. “HEY!” I yell out the garage door. “WHAT DO YOU WANT FOR BREAKFAST?” From the edge of the yard I hear him call, “I don’t care!”
Normally, I’d fry up some potatoes and sausage – but we had that for dinner last night. So in brilliance, I decide to whip up some sausage breakfast rolls.
This recipe falls under the category of "Fun Things to Do with Bread Dough”. The recipe for the dough I use here is one of THE easiest things to make. I adapted it from the very famous “No Knead Bread” recipe, and I use it for a TON of things. It makes great pizza dough, focaccia bread, and bread bowls for soup. And depending on how much yeast you put in, you can make it as far in advance as twenty-four hours (a scant ¼ teaspoon), or as quickly as one hour ahead (a heaping teaspoon, as you’ll see here). And no KitchenAid mixer is necessary.
We’ve no time to waste! Who knows how much longer he’ll be out there?
DISCLAIMER: I have no idea how many people this will feed. If I were making it for eight, I’d triple it. The nice thing is that this is a “by feel” recipe, and it doubles/triples/etc. pretty well. I thought we might have leftovers, but, um, the two of us ate it all. I might consider it enough for a normal breakfast for me and three friends, along with some fruit and maybe some eggs, but you never know how much Brian will eat. Never.
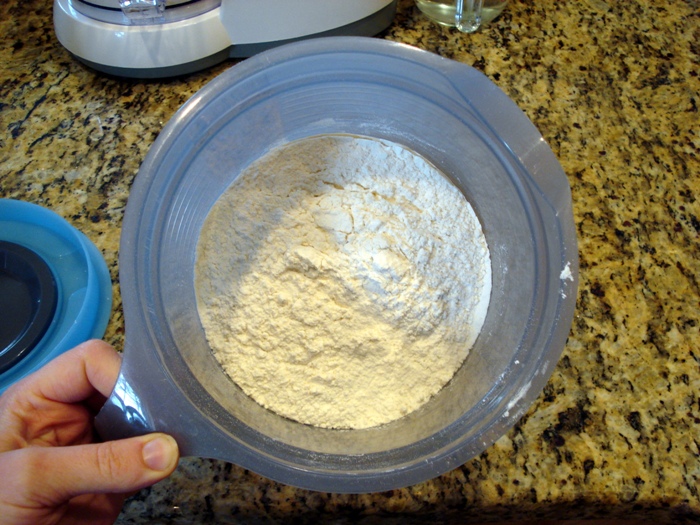
Let’s start with two cups of flour. I use bread flour, which makes a crustier and chewier bread, but you can certainly substitute all-purpose.
Next, add a heaping teaspoon of yeast. We’re gonna give this bread a ROCKET RISE!

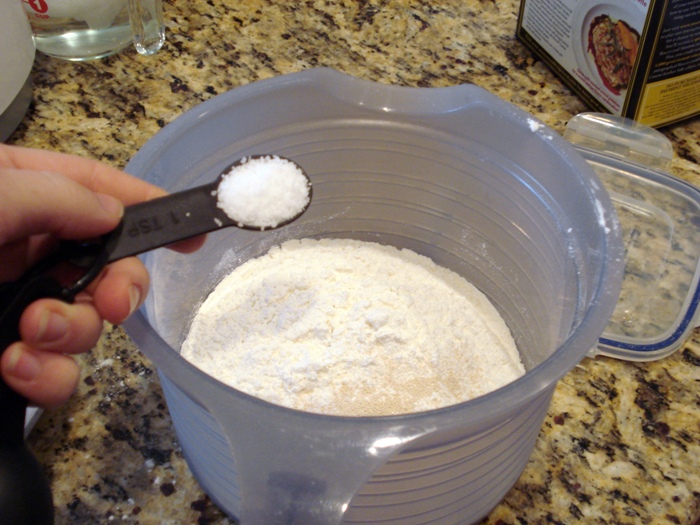
And do NOT forget the salt! A heaping teaspoon, please.
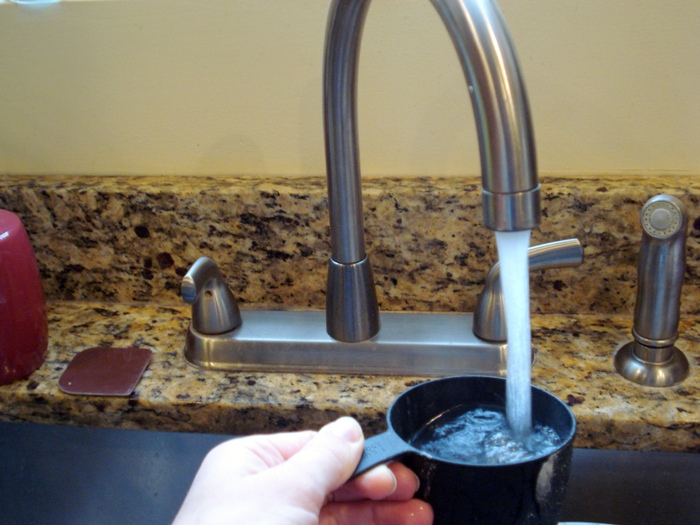
Mix these three ingredients, and start running your hot tap water. This bread dough has only four ingredients, including water, and I think that’s wonderful.
Pour in one cup of HOT water – tap hot, not microwaved or anything. See the ratio? One cup of water to two cups of flour. Half as much water as flour. Easy.
Now mix it all together. I recommend using a butter knife for this, which I’ve found is the easiest tool for the job.

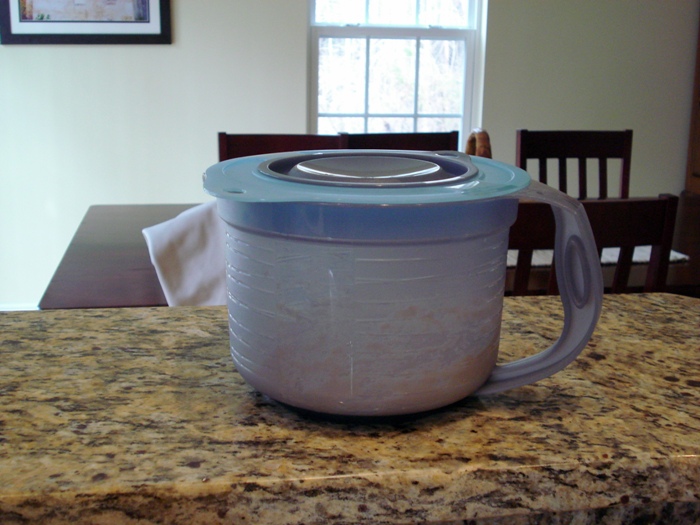
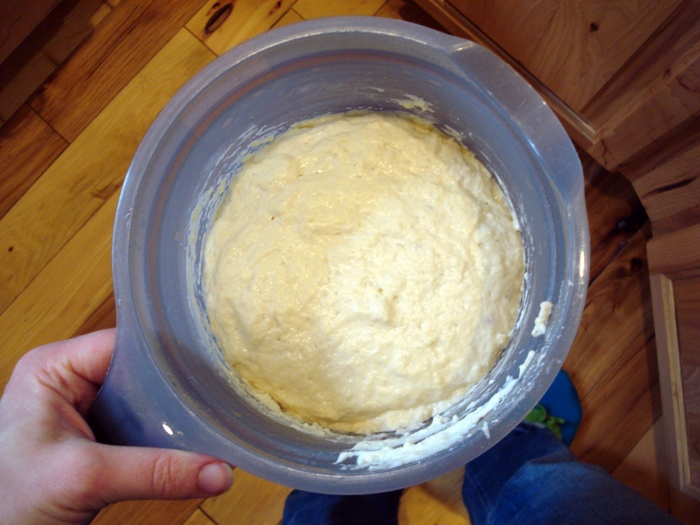
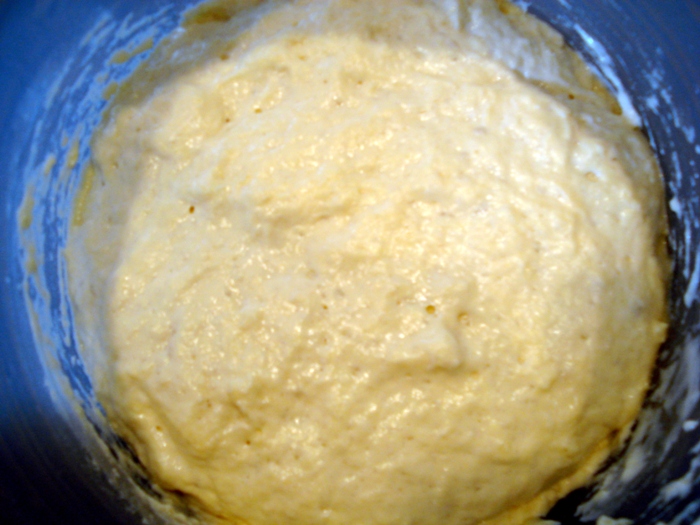
Put a lid on it and let ‘er sit around for about an hour.
Now, go to the freezer to retrieve your sausage. And realize, to your horror, that you’re OUT OF SAUSAGE! Maybe because you used it up last night when you made sausage and potatoes!
So think of a backup plan.
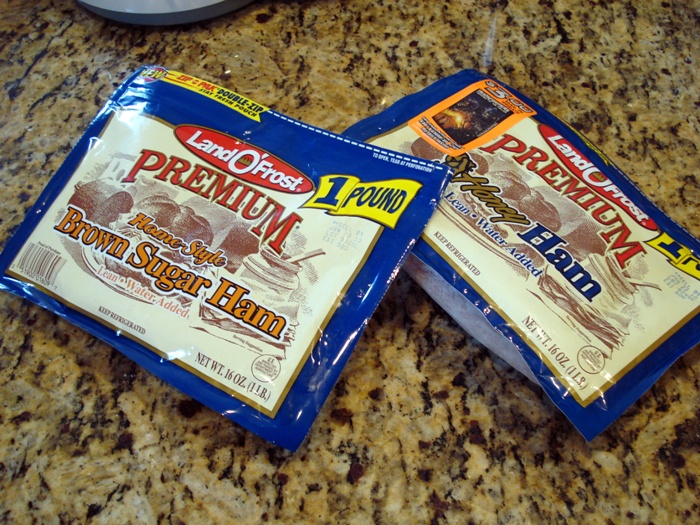
How about ham? Ham and cheese are always good together. I guess if worse came to worst, you could just use cheese. Or blueberry jelly. Or maybe I just don’t know what I’m talking about.
Deli ham will be just fine. In fact, it will be downright delicious.
An hour or so later, your dough will be ready. And thankfully, Brian is still outside, so we’ve got some time.
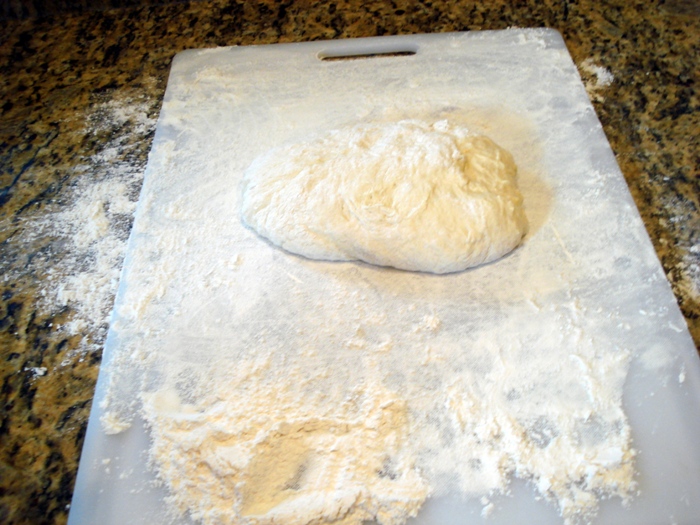
Cover your surface with lots of flour. You’ll need to use a knife on this surface, so if you have any love for your kitchen counter, use a cutting board.
Scrape out the sticky mess - and keep your flour handy!
You’ll need to get out your ham and cheese – any cheese will do, but I wouldn’t recommend using any fancy, expensive cheese. In this case, cheaper actually TASTES BETTER, if you can believe it. And finally, collect these three very important ingredients:
Garlic powder, onion powder, and seasoned salt. This is the Axis of Flavor. Buy them if you lack them, because you need these if you’re going to be doing ANY cooking with bread dough.

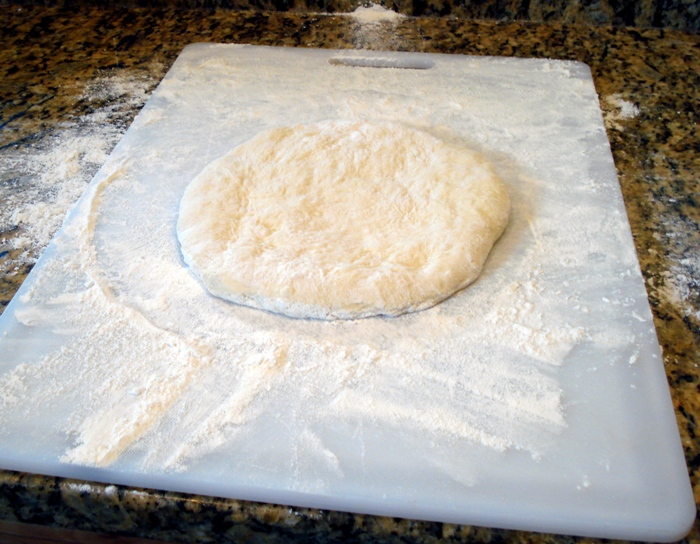
Briefly knead the dough and pat it out a little bit. Keep your flour handy.
Grab a pan and liberally oil it. I’m using a 7” x 11” pan here.

Sprinkle it lightly with the Axis of Flavor.

Now, oil your hands and pat the dough into a rough rectangle.

Sprinkle it lightly with your three seasonings. GO EASY ON THE SALT, because ham and cheese are already salty things. Overall, keep it light, to be on the safe side.
You only want enough for a FLAVOR EXPLOSION!

Now, cheese it up. I’m using cheddar and – because I didn’t have enough of that – I’m also using plain old American cheese. Because I’m a patriot, and because it’s GOOD. Don’t hate.

Layer on your ham. I don’t have quite two layers here. Don’t go too heavy. Your dough rectangle is kind of thin.

Finally, more cheese never hurt anyone!
Except maybe people who are lactose intolerant.

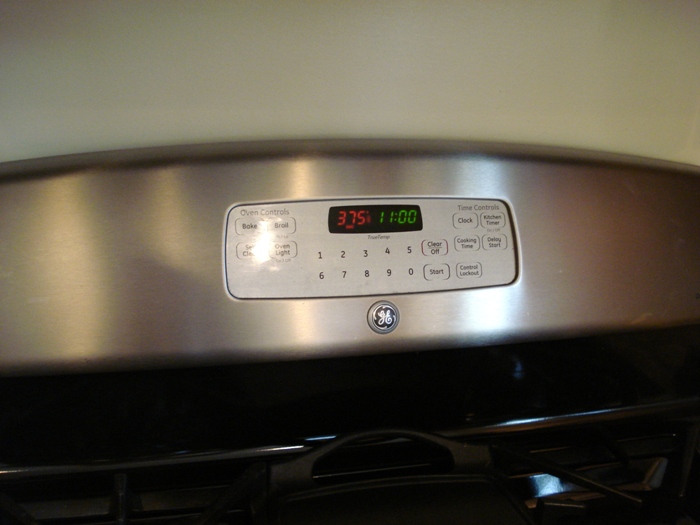
Meanwhile, preheat your oven to 375 F.
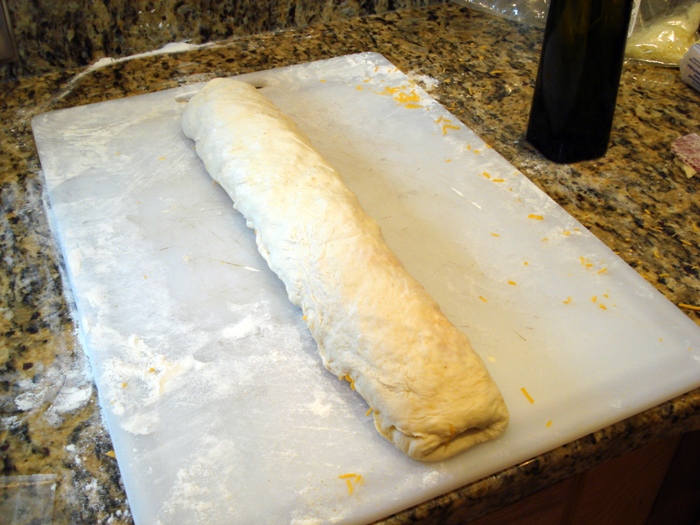
Now oil your hands and roll ‘er up, starting on the LONG side. Where it sticks to the board, use your oiled fingers to gently loosen it. If it tears, that’s alright.
Now with a sharp knife, cut the roll into eight pieces. These are about 1 ½ inches thick. Place them in the prepared pan. At this point, you will think the dough looks AWFULLY thin and everything just looks generally weird, but TRUST it!

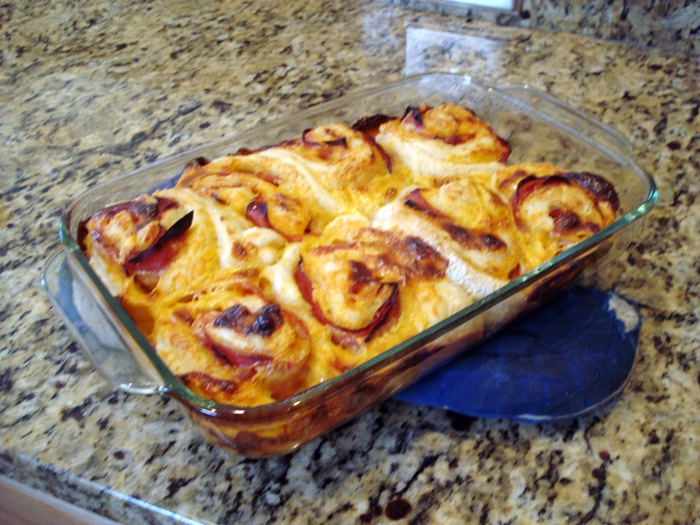
Bake for 40 minutes or until browned.
Oh. Baby.

DISCLAIMER: the dog did not eat this after this photo was taken. I DID.
DISCLAIMER: I had another one after that.
And then Brian, finally, came in.

Enjoy!
P.S. If I had made this according to the original plan, I would have cooked up a pound of breakfast sausage and crumbled it over the cheese instead of using ham. It, too, would have been downright darn good.
I am going to the kitchen right now to make some to go with our soup tonight. I am having a "I-need-carbs-n-cheese" day. Thanks for the inspiration!
ReplyDeleteP.S. Needs some whole grains, ground flax & sunflower seeds and nettle leaves!
ReplyDeleteI just want to say, these can be made the night before and stored in the fridge. Just use less yeast, and just WARM water. And yes, whole grains are invited to join. But no nettle. Please.
ReplyDeleteMaeganbee - your blog is smart, witty, and adorable, not to mention that those biscuits look positively diVINE...
ReplyDeletei miss you!